
In the book the Power of Positive Parenting that I reviewed here Dr. Latham talks about the damage that can be done to children when we put them down, whether in jest, or in seriousness. He gave an experience from his … Continue reading

In the book the Power of Positive Parenting that I reviewed here Dr. Latham talks about the damage that can be done to children when we put them down, whether in jest, or in seriousness. He gave an experience from his … Continue reading
Before I teach a yoga class I always look for something inspiring to share with the students before the practice to set the tone and to remember why we really come together to practice yoga. Yesterdays quote was:

~ John Lennon
It is so important to remember that happiness doesn’t come from things. If we are always saying in our mind “I’ll be happy when… I get a new job, a promotion, a new house, my dream car, my children behave themselves, all my kitchen cabinets are painted 😉 , there is no more war, when I have six-pack abs, etc…” We will never be happy.
Happiness involves being mindful, finding gratitude in each moment and enjoying the ride. It is actually quite possible to be going through something uncomfortable, sad, frustrating, or hurtful in our lives and still maintain the ability to choose to be happy.
So, take a moment right now, enjoy where you are… be happy about something and let it improve your day and your life.
And feel free to share what makes you happy 🙂
This project is super exciting but it is going to take a while so I figured I would document as we go. We I mean me are in the middle of painting our kitchen cabinets. I researched and found a recipe for DIY chalk paint. I liked the idea of this as with chalk paints you do not need to sand and prime… just get to painting. I wanted to do a 2 tone look in the kitchen that I have been seeing around Pinterest and Better Homes and Gardens magazines so I decided on a Slate like dark blue for the bottom cabinets and a Colonial White both by Olympic paint (Flat Finish). Here is a picture of our kitchen before we began this project:

Hello Elizabeth! Glad you could join me for this picture 🙂

Yeah, my kitchen gets messy and cluttered, totally not going to pretend that my house is super clean all the time. You can see all of my supplies on the counter just waiting to start. Oh my goodness what was I thinking… I Mean YAY!!!
First Eric and I took down one of the cabinets that we didnt need that I felt was making our kitchen seem smaller and blocked light coming in from the kitchen window:

We had to sand and repaint the area where the old cabinet used to be… Look at how handsome he is when doing house projects! And this is how it looks after! So much nicer and way more open.
Now that that giant cabinet is gone I began painting the cabinets with the chalk paint. The recipe I used for home made chalk paint is:
1 Cup of Flat Latex paint (I have been using Olympic in zero VOC from Lowes)
2 1/2 Tablespoons of Plaster of Paris
2 1/2 Tablespoons of hot water
Directions:
Mix the plaster of paris with the hot water until it is completely smooth with no chunks.
Add the water/plaster of paris mixture to the paint and stir well
So far I have learned to only mix how much I will be using at that time as I have mixed a double batch so that I can come back to the painting as I have the time and found that the paint got lumpy.
Here is how the Lower Cabinets looked with 1 coat

oh, hello Nacho 🙂
My cabinets are Oak so you can see that the grain really shows through, I figured I would embrace this as I like more of the rustic feel any way and plan on lightly distressing the edges of cabinets to rough it up a little, I like the country/romantic look.
Here is a picture with 2 coats of paint:

Don’t worry… I am going to paint the rest of that cabinet door…
And… Just for fun, look what I found when I removed all of our drawers from our built in kitchen desk
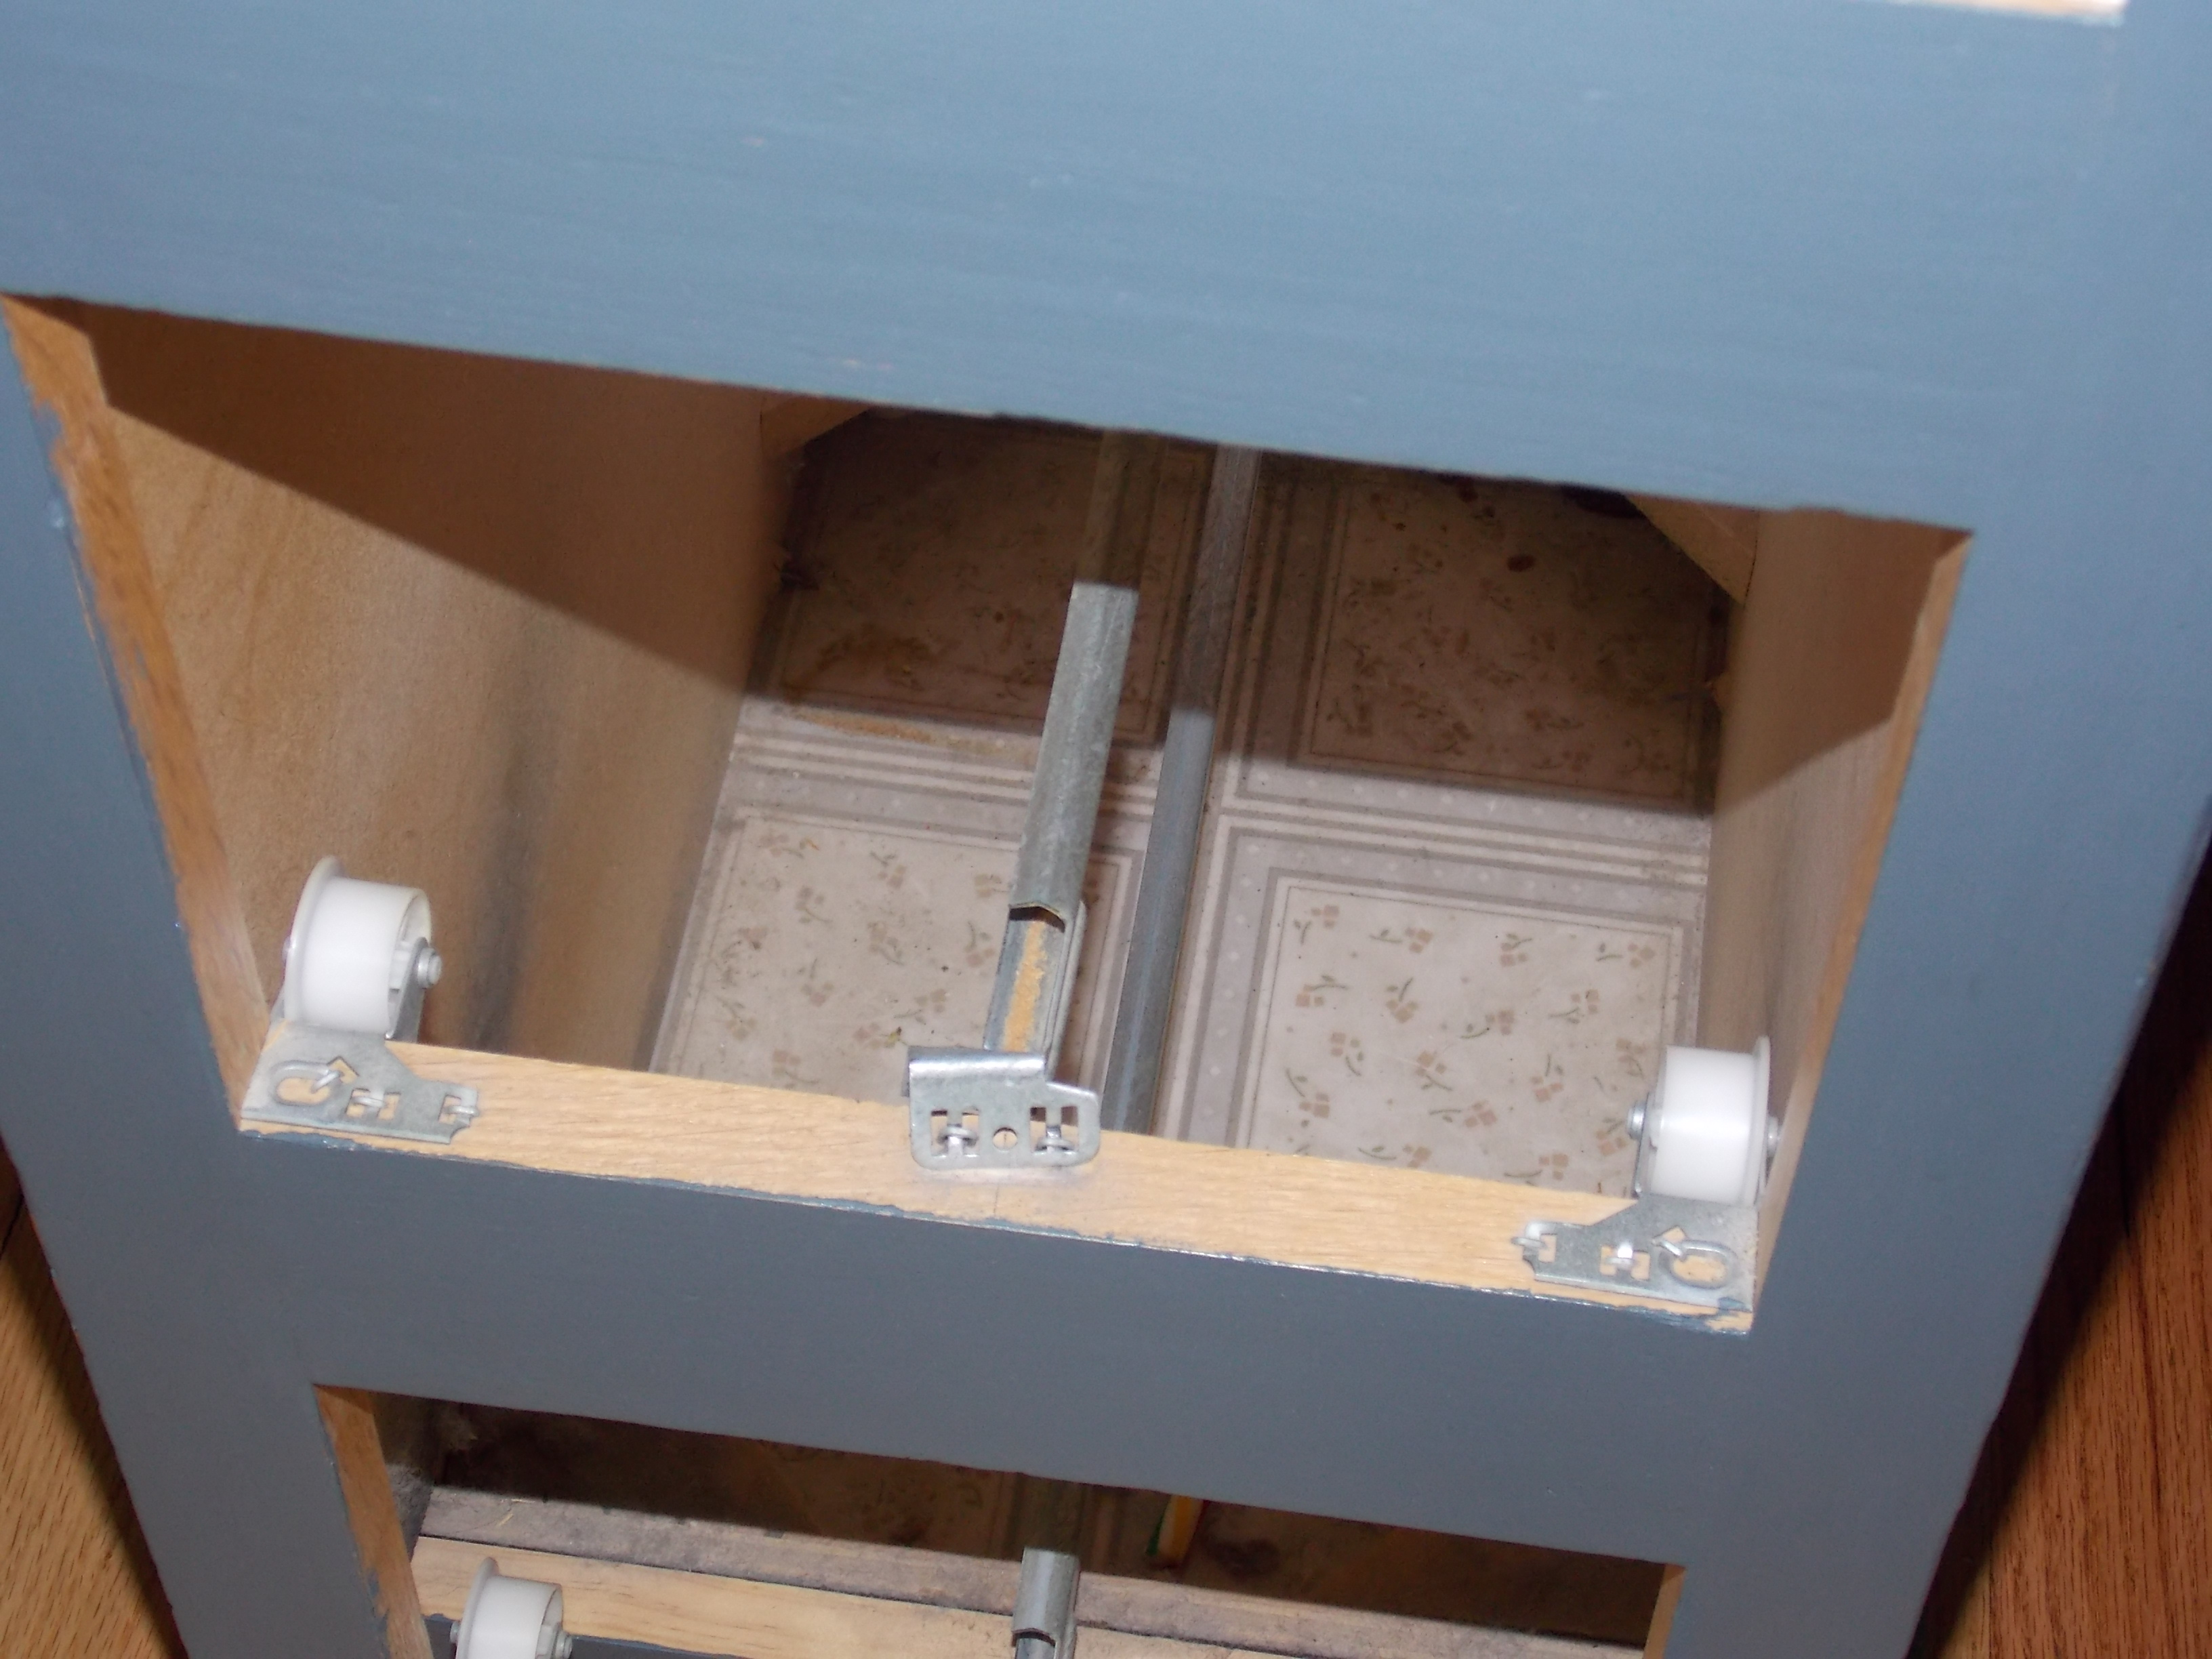
I thought the hardwood that we have in our kitchen was original to the house (since it is not in the best of shape) But I found this super dated linoleum hiding under the cabinet. Adds a bit of secret charm in my opinion!
Anyway… That is where we are right now on the kitchen project. Stay tuned, I’ll be posting more pictures and tips that I learn as I go.
A couple of days ago I was having some issues… Recently I had to take my little Gabriella to the Pediatricians office as she was having some digestive issues (we can talk about this in a later post.) The conclusion is that she may have a dairy allergy. I have been through this before with Elizabeth (my 4 year old), and in that case I had to go on a complete elimination diet to figure out what was causing her issues. But this time, with Gabriella, it has been easier. I took out the dairy from my diet and her issues have been dramatically improving with only one set back… Anniversary sushi dinner with the hubby, I think one of the rolls had a sauce on top that probably contained dairy and they/I did not know it (or she may have an issue with soy too?)
So back to the original purpose of this post, I was having an issue because I needed a cookie, or something sweet. I munched on a carrot and that just did NOT do it for me (sorry health food nuts who never eat any sugar). I have found in life that when it comes to food, enjoying sweets once in a while is okay for me. When I eliminate sweets completely from my diet I go a little crazy, so to spare myself and my family of crazy mom I go ahead and enjoy, moderation is key.
So began my search for a fast easy and delicious dairy free cookie recipe… Nothing really seemed quick or easy enough though. Then I remembered no bake cookies…. YES! So Googling away I found this recipe on go dairy free. I modified it slightly and cut the recipe in half (moderation people… moderation) and got straight to it.

Dairy Free Chocolate Peanut Butter No Bake Cookies:
1/4 Cup Coconut Oil
1 Cups of Sugar
1/4 Cup of Plant milk (I used So Delicious Coconut Milk Vanilla flavor)
1/8 Cup of Coco powder
1/4 Cup of Chunky Natural Peanut Butter
1 3/4 Cups of Oats (quick cooking or old fashioned for a chewier finish)
A few drops of Almond extract (you can use vanilla (1 tsp)… However, I have not had vanilla on hand for a while now and I have been using Almond Extract in its place and I have loved the results in all of my baking)
Directions:
In a small saucepan combine the first 4 ingredients (I added the almond extract as well)
Stir often until the mix comes to a rolling boil and continue to stir and let boil for 1 minute
Remove from heat source and stir in Peanut Butter, Oats, and Vanilla until well combined.
Drop by tablespoons onto waxed paper and allow to cool until they firm up.
And there you have it… A Yummy Dairy free cookie for when those cravings strike and you want a cookie NOW 😉
Since the name of this blog has motherhood in it I figured my first book review should be about one of my favorite parenting books so far.
I was able to attend a 2 week class at my church that was named Christlike Parenting. The woman who came to speak was amazing and I wish I could remember her name but she recommended the books by Dr. Glenn Latham “The Power of Positive Parenting: A wonderful way to raise children.” and “Christlike Parenting: Taking the Pain out of Parenting.”

Because I enjoyed the classes so much I figured I would really like the books that were recommended. I went to Amazon.com and purchased the book here. Checking out the reviews I was excited that so many other people really enjoyed the book and were having success with their children when they implemented the principles that Dr. Glenn Latham suggests.
What I enjoyed the most about this book is that it recommends a parent should be more aware of children’s positive behavior and give them attention and praise for it. The book recommends giving positive attention in many ways, such as touch (a hug, pat on the head, back rub, etc…) verbal praise (I love you, you are doing so well, I like it when you…). If you are familiar with the 5 love languages this could really apply here by finding out what your child’s love language is and giving them praise or attention in that language.
Dr. Latham says that if the feeling in the home is out of balance to start by having 20 positive interactions with your children every hour. 20!!! Yes! It does seem like a lot, and that is because it is. If we think of our love like a bank account every negative thing we say to our children takes out a withdrawal from that account. If behavior is really bad it is important to fill up the child’s love bank with positive in order for them to really even trust and want to listen to what you have to say as a parent.
This was and still is one of the most difficult things about this parenting style. So often in our culture and families we only give attention to what is bothersome or frustrating and not as much if any to the millions of sweet wonderful positive things that happen on a daily basis. I find myself now realizing when I am giving attention to negative behavior instead of the positive behavior that I want to continue.
A parent should ignore “weed” behavior or “age typical” behavior. Sounds pretty simple, but this is actually really one of the hardest things to do about this parenting style. You give attention to positive behavior only…. Unless… The negative behavior is doing 1 of 3 things: Hurting someone, Hurting themselves, or damaging property. Everything else, just ignore it.
The book talks about using privileges with your children. For example, if the child is engaging in a negative behavior that is listed above you speak with them about the situation when they have calmed down. You talk with them about how the behavior is unacceptable. You then ask them about some of the privileges that they enjoy in the home (could be TV time, Video games, playing dress up.) But the child will tell you what privileges they enjoy. You then use this as their currency. If they choose to continue that behavior, they will loose a privilege.
I do this with Elizabeth using anything that I notice she particularly enjoys like playing with her princess dresses, and TV/Movies. This is her currency.
I have not finished the book yet as it is super large and is meant to be more of a handbook to reference as you go with parenting, I see myself using this book weekly and probably sometimes daily as a refresher on how I want to parent my children.
I will update as I implement these techniques more with my sweet little ones!
What is your favorite parenting book?
So many times in my adventures outside of the home I have been told how cute my little boy is…. I don’t have a little boy!
There is something about having a baby out in public not wearing a headband or bow that makes them obviously a little boy (even when they are wearing a floral print or something pink). I am also blessed with babies who have a lack of hair when they are born so I am always in need of a headband because if I go out to the store without my baby wearing one I have to awkwardly just pretend that my baby is a boy because I don’t want to correct them (is that weird)…
I love making things DIY and I came across some really cute knotted headband ideas on Pintrest which led me to coming up with this little gem that took me like 30 mins to make start to finish.

Also, I should mention that I made this while my little Gabriella was in the moby wrap napping…

Seriously guys… She spends about 4-5 hrs a day like this. I love it!
So the time it took to make probably could have been faster if I had my body completely to myself. For the record I love baby wearing and my baby won’t sleep without touching me I do it all the time it’s also a great way to keep warm, those babies are like portable space heaters 😉
Anyway… I first came across this blog @ love stitched with a tutorial of how to make the knot and headband. I decided that I wanted the headband to be a little thicker so I modified her directions slightly. Here is what I did:
First I started with an old white T-shirt that I will not be using anymore… Old white maternity shirts… Great for new headbands 😉

Probably should not have taken a picture of a white tshirt on a white counter top… but whatevs…
I cut 2 long strips that were about 2 inches wide starting from the bottom of the shirt. I cut off the ends that were hemmed. Then I followed the instructions from Love Stitched on how to tie this Celtic style knot. With the first strip of fabric you make it into the shape of the Breast Cancer ribbons as shown below.

Then you add the second strip… This is where it gets a little tricky and I think using one color for both strips can make it a little hard to follow but here goes 🙂

After this step make the second strip look like the Breast cancer ribbon as well by doing this


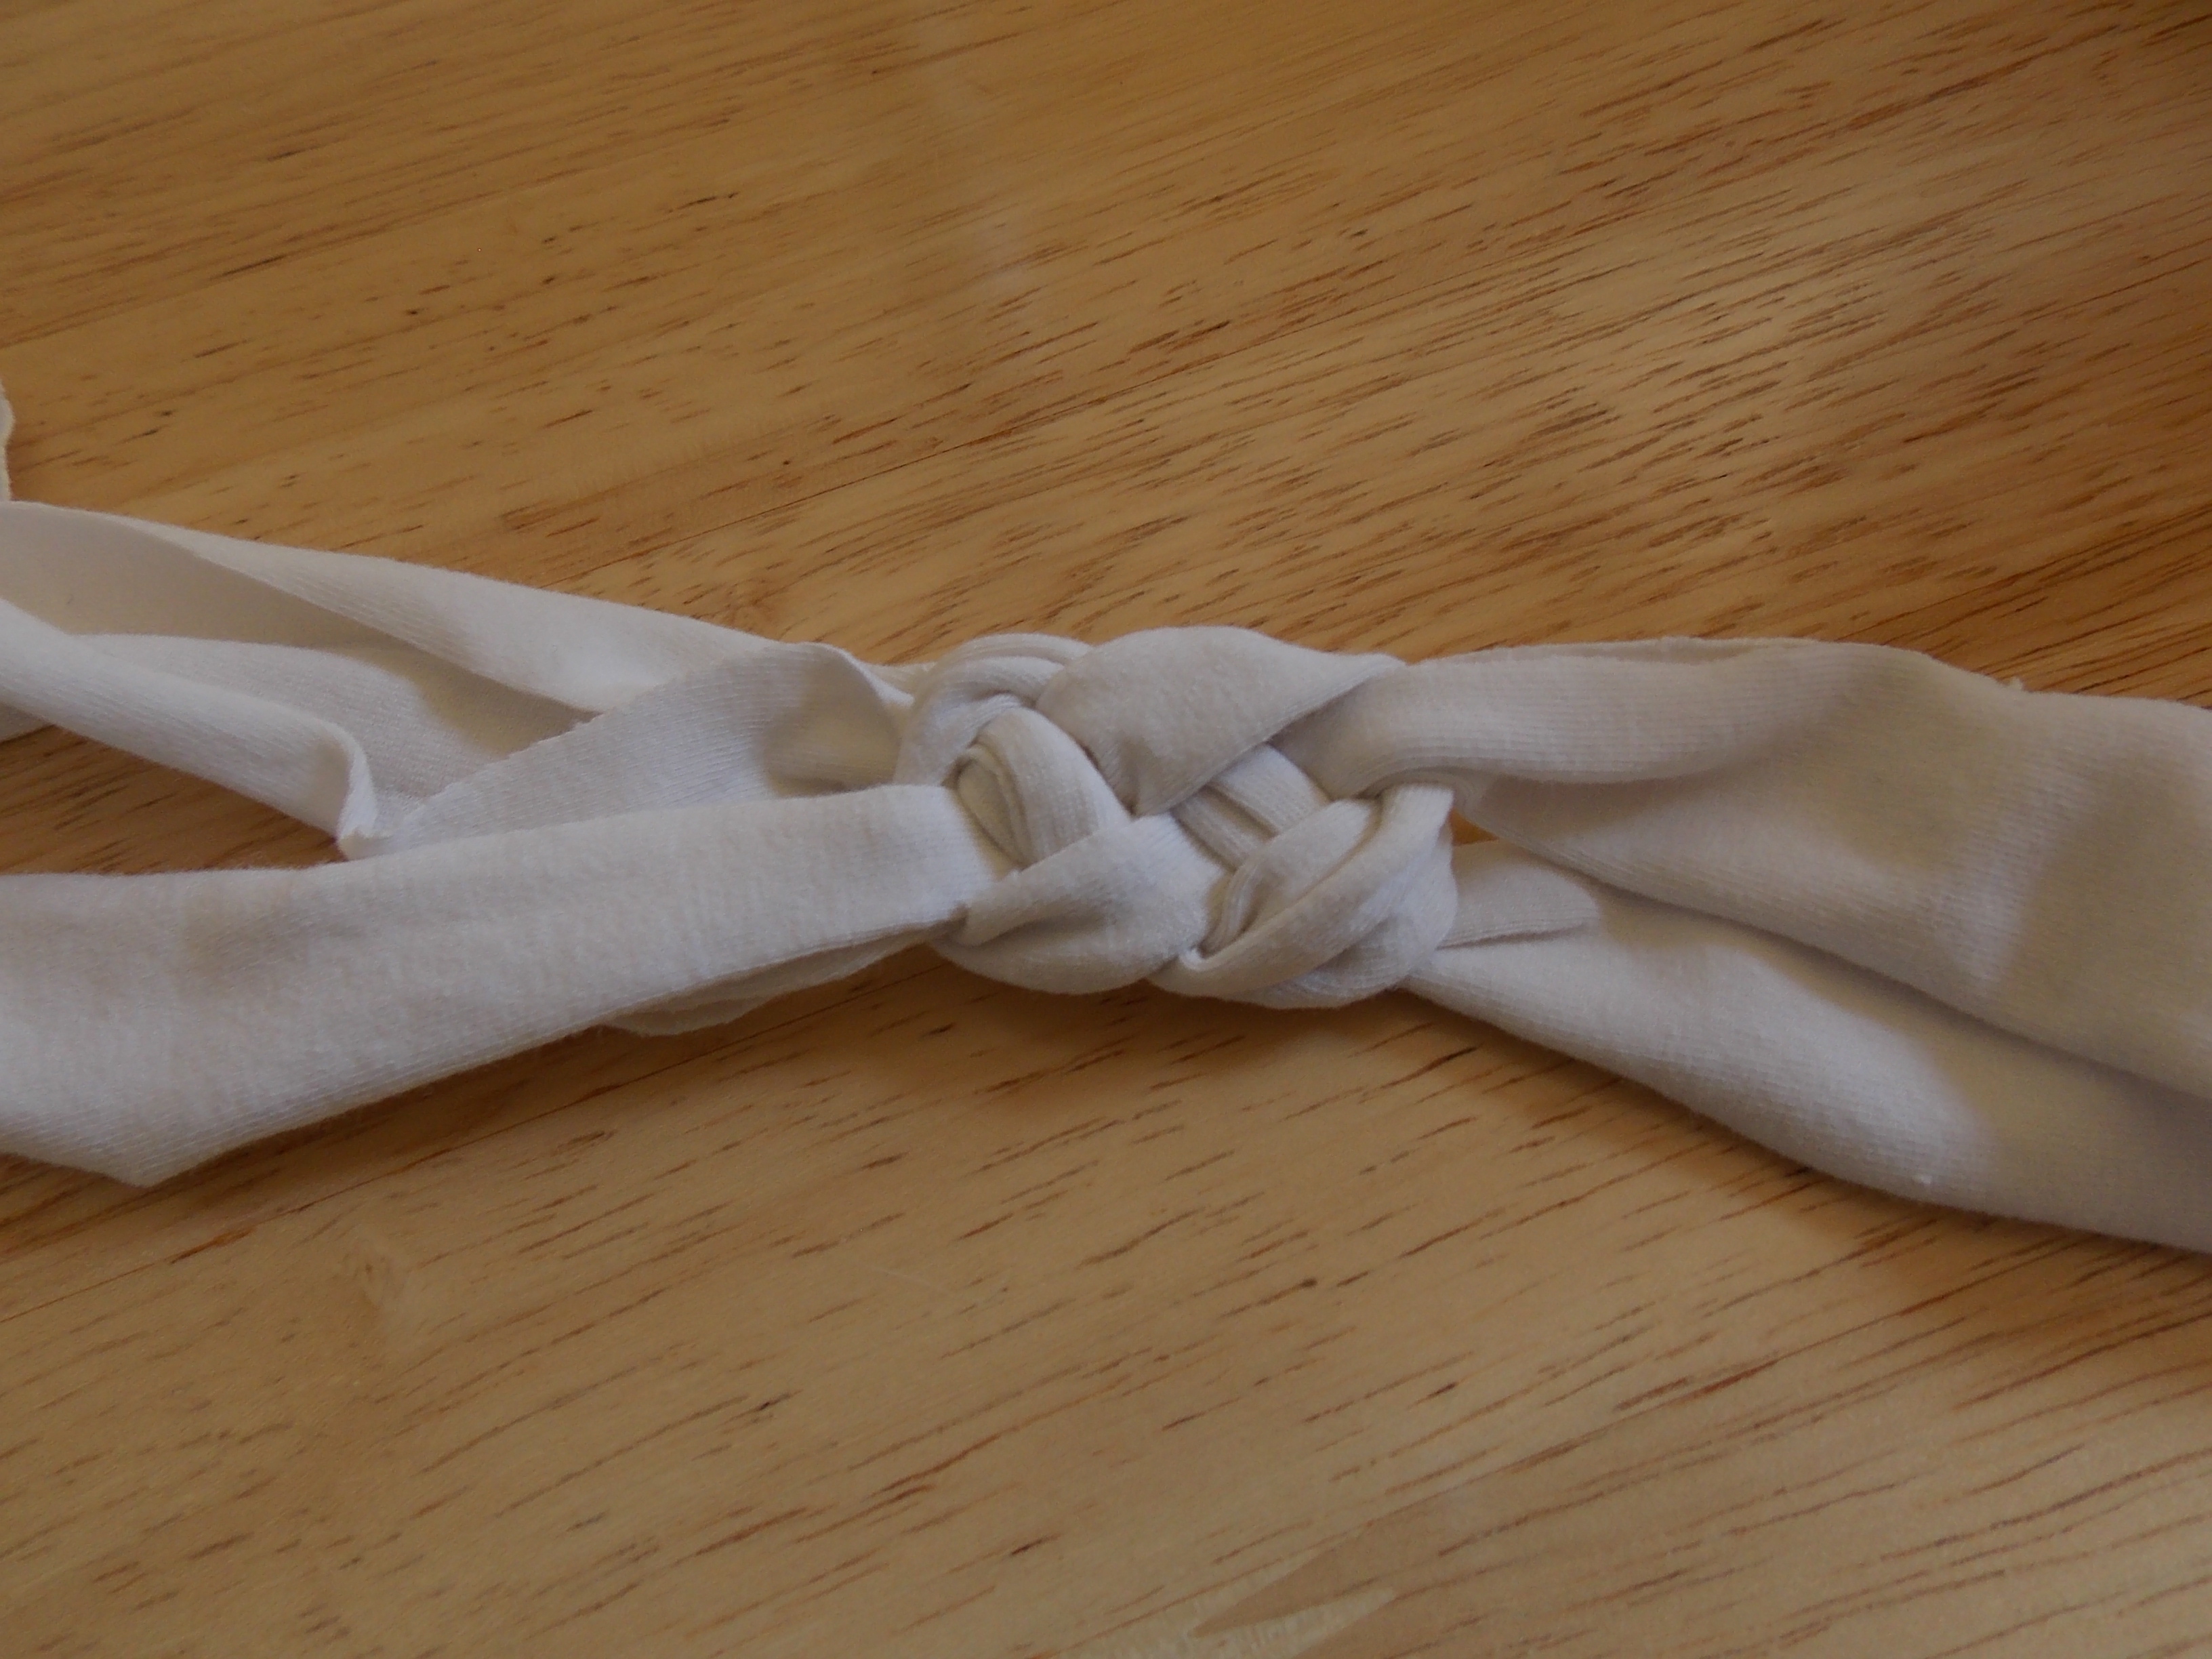
What is kind of hard to see from the pictures is that the 2nd strip of fabric, when the Left side is placed under the loop of the first strip it does not go through it… It just lays under it. Then you grab the Right side of the 2nd strip and weave it inter the L side of itself ending up with something that looks like this:

and then the awesome part happens… Just carefully pull all ends of the strips equally until it looks something like this:
You can thicken it up a little and fold under any of the cut edges that are exposed in the knot to make it look pretty. Then I placed it around my little growth sweet baby’s head to see how much of the ends I should cut off. I made a mark exactly where it would fit perfectly if it was not stretchy and cut the ends there (since it is a stretchy tshirt I figured if I overlap the ends it will be just right and stretch slightly to fit) I got out my trusty and very cheap hot glue gun and glued the edges together:

Then I gut a piece of fabric about 1 1/2 inches thick and just long enough to overlap horizontally and glue together on the underside. It looked best when I made it a little tighter than the width of the headband.

then I put it on my sleeping baby… As pictured above and not really a good view. 🙂 Thankfully I took some pics when she woke up all smiley and awesome.


And there it is! Super easy and way cute recycled t shirt headband for a little baby girl. I am hoping to experiment with other colors and maybe busting out my moms sewing machine that she gave me to make some nice thick ones that are sewn in the back.
Happy DIY’ing!!!
